Dash System

Dash System
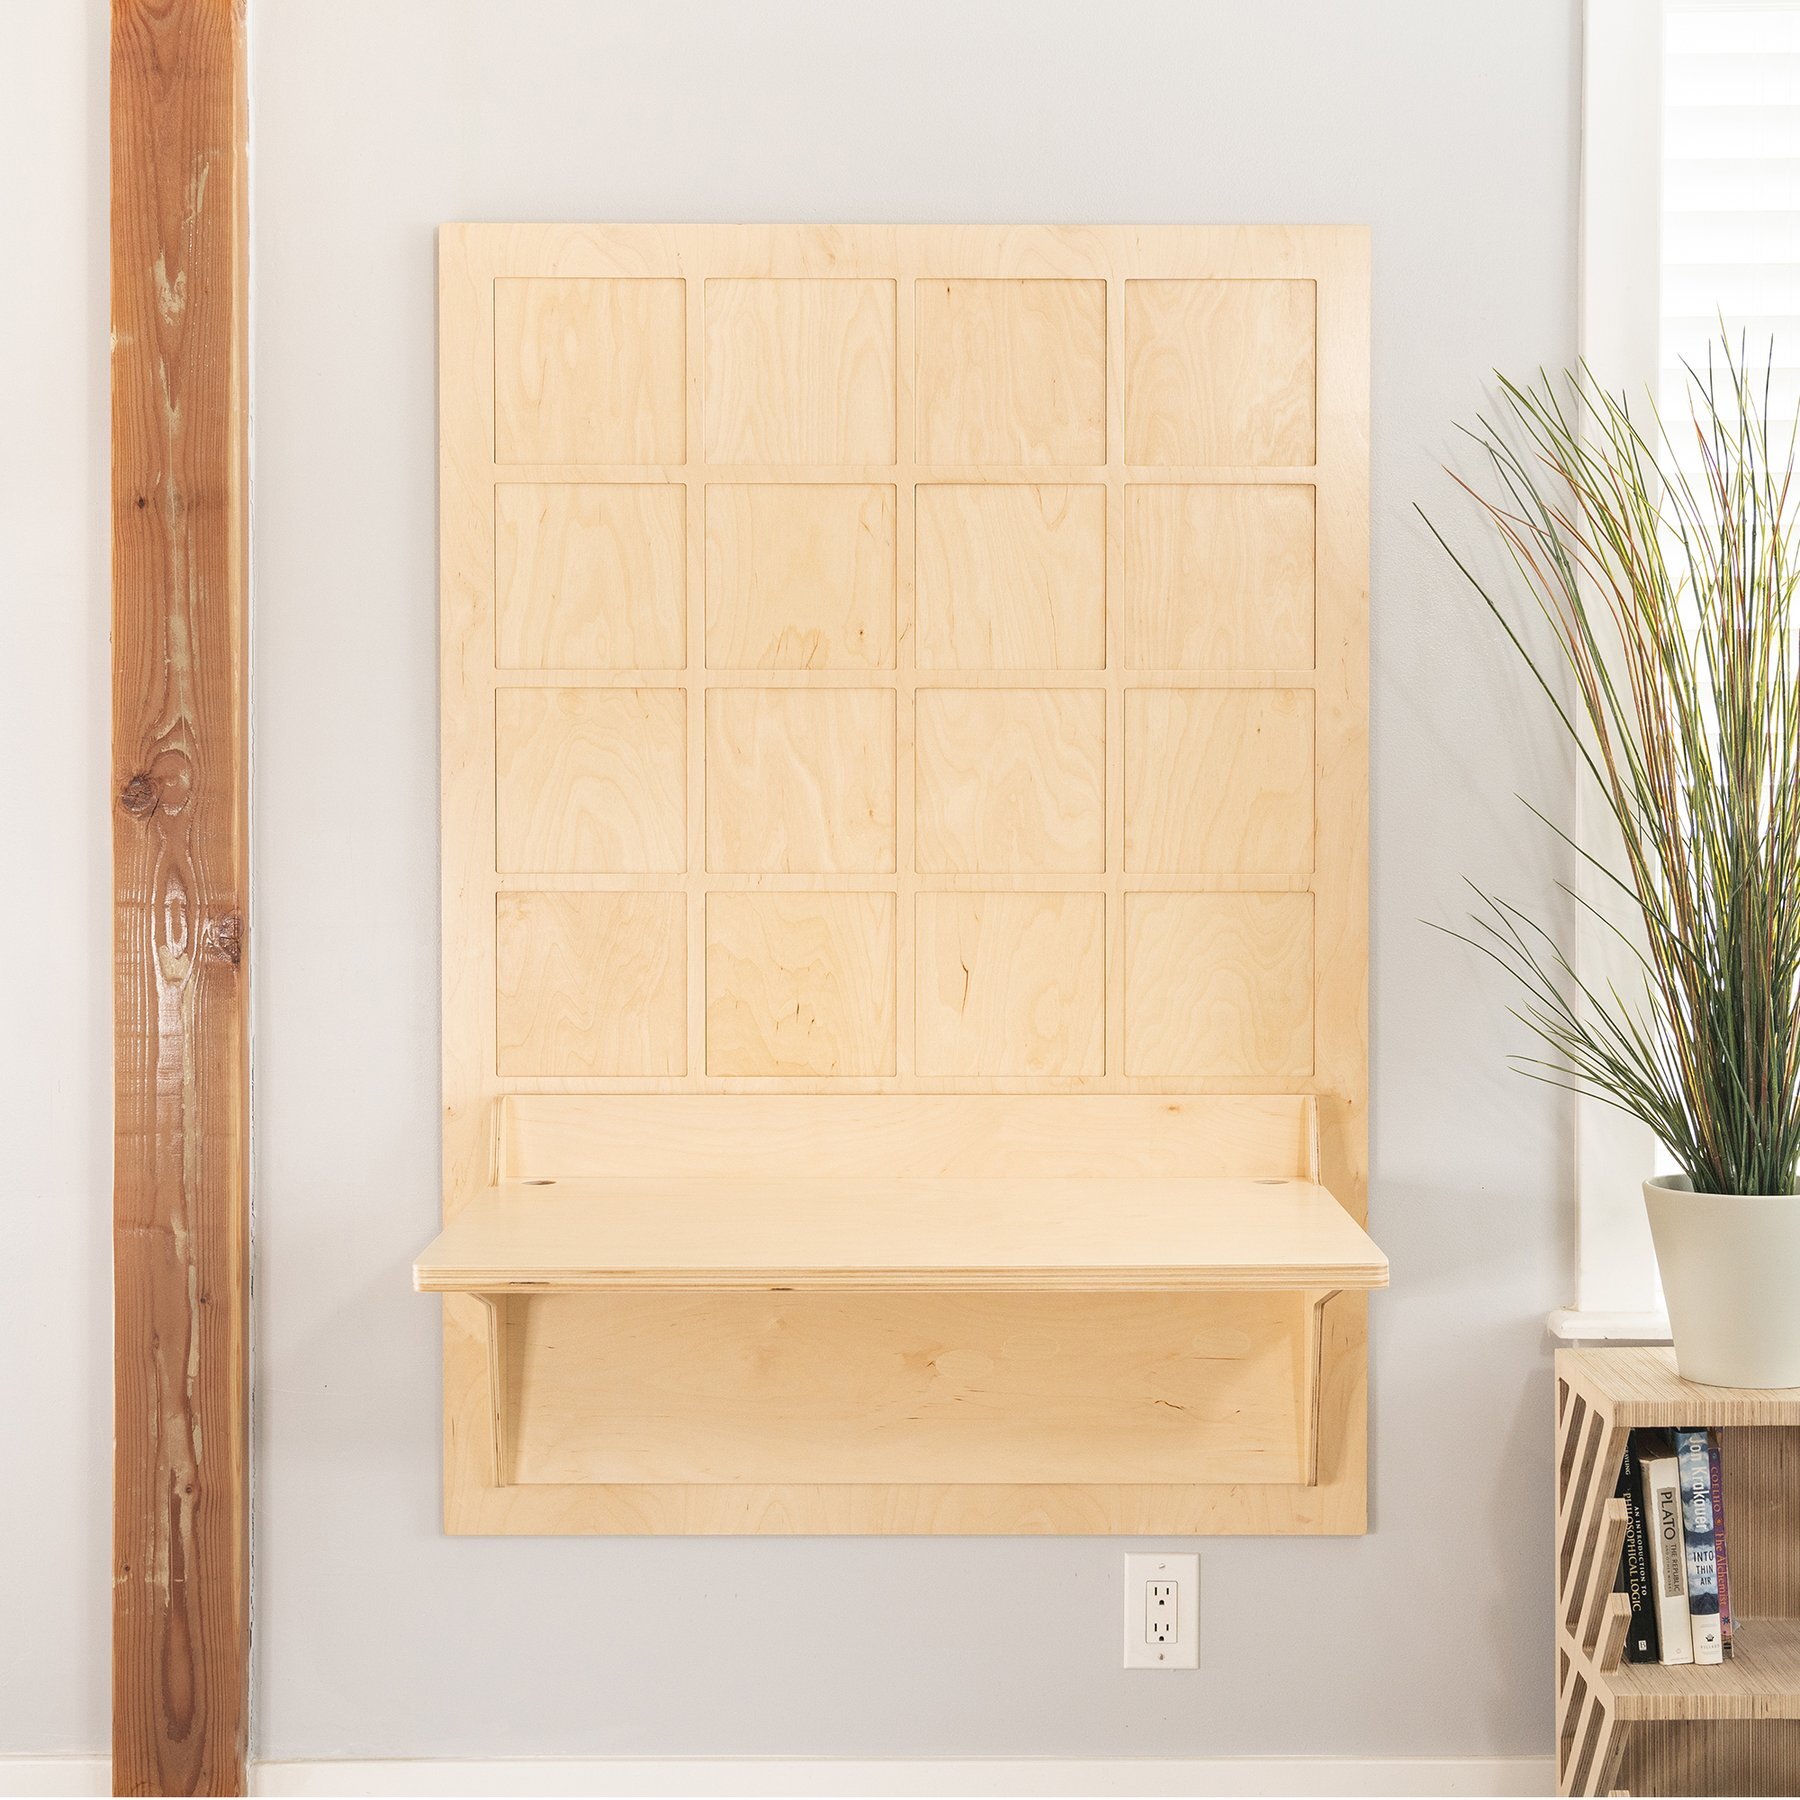
Essentially, the Dash System is a wall-mountable frame grid that houses little internal pockets on the top and bottom of each window. There’s extra room on the top to slide a module in and then click it down into place. It’s surprisingly sturdy once it’s set.


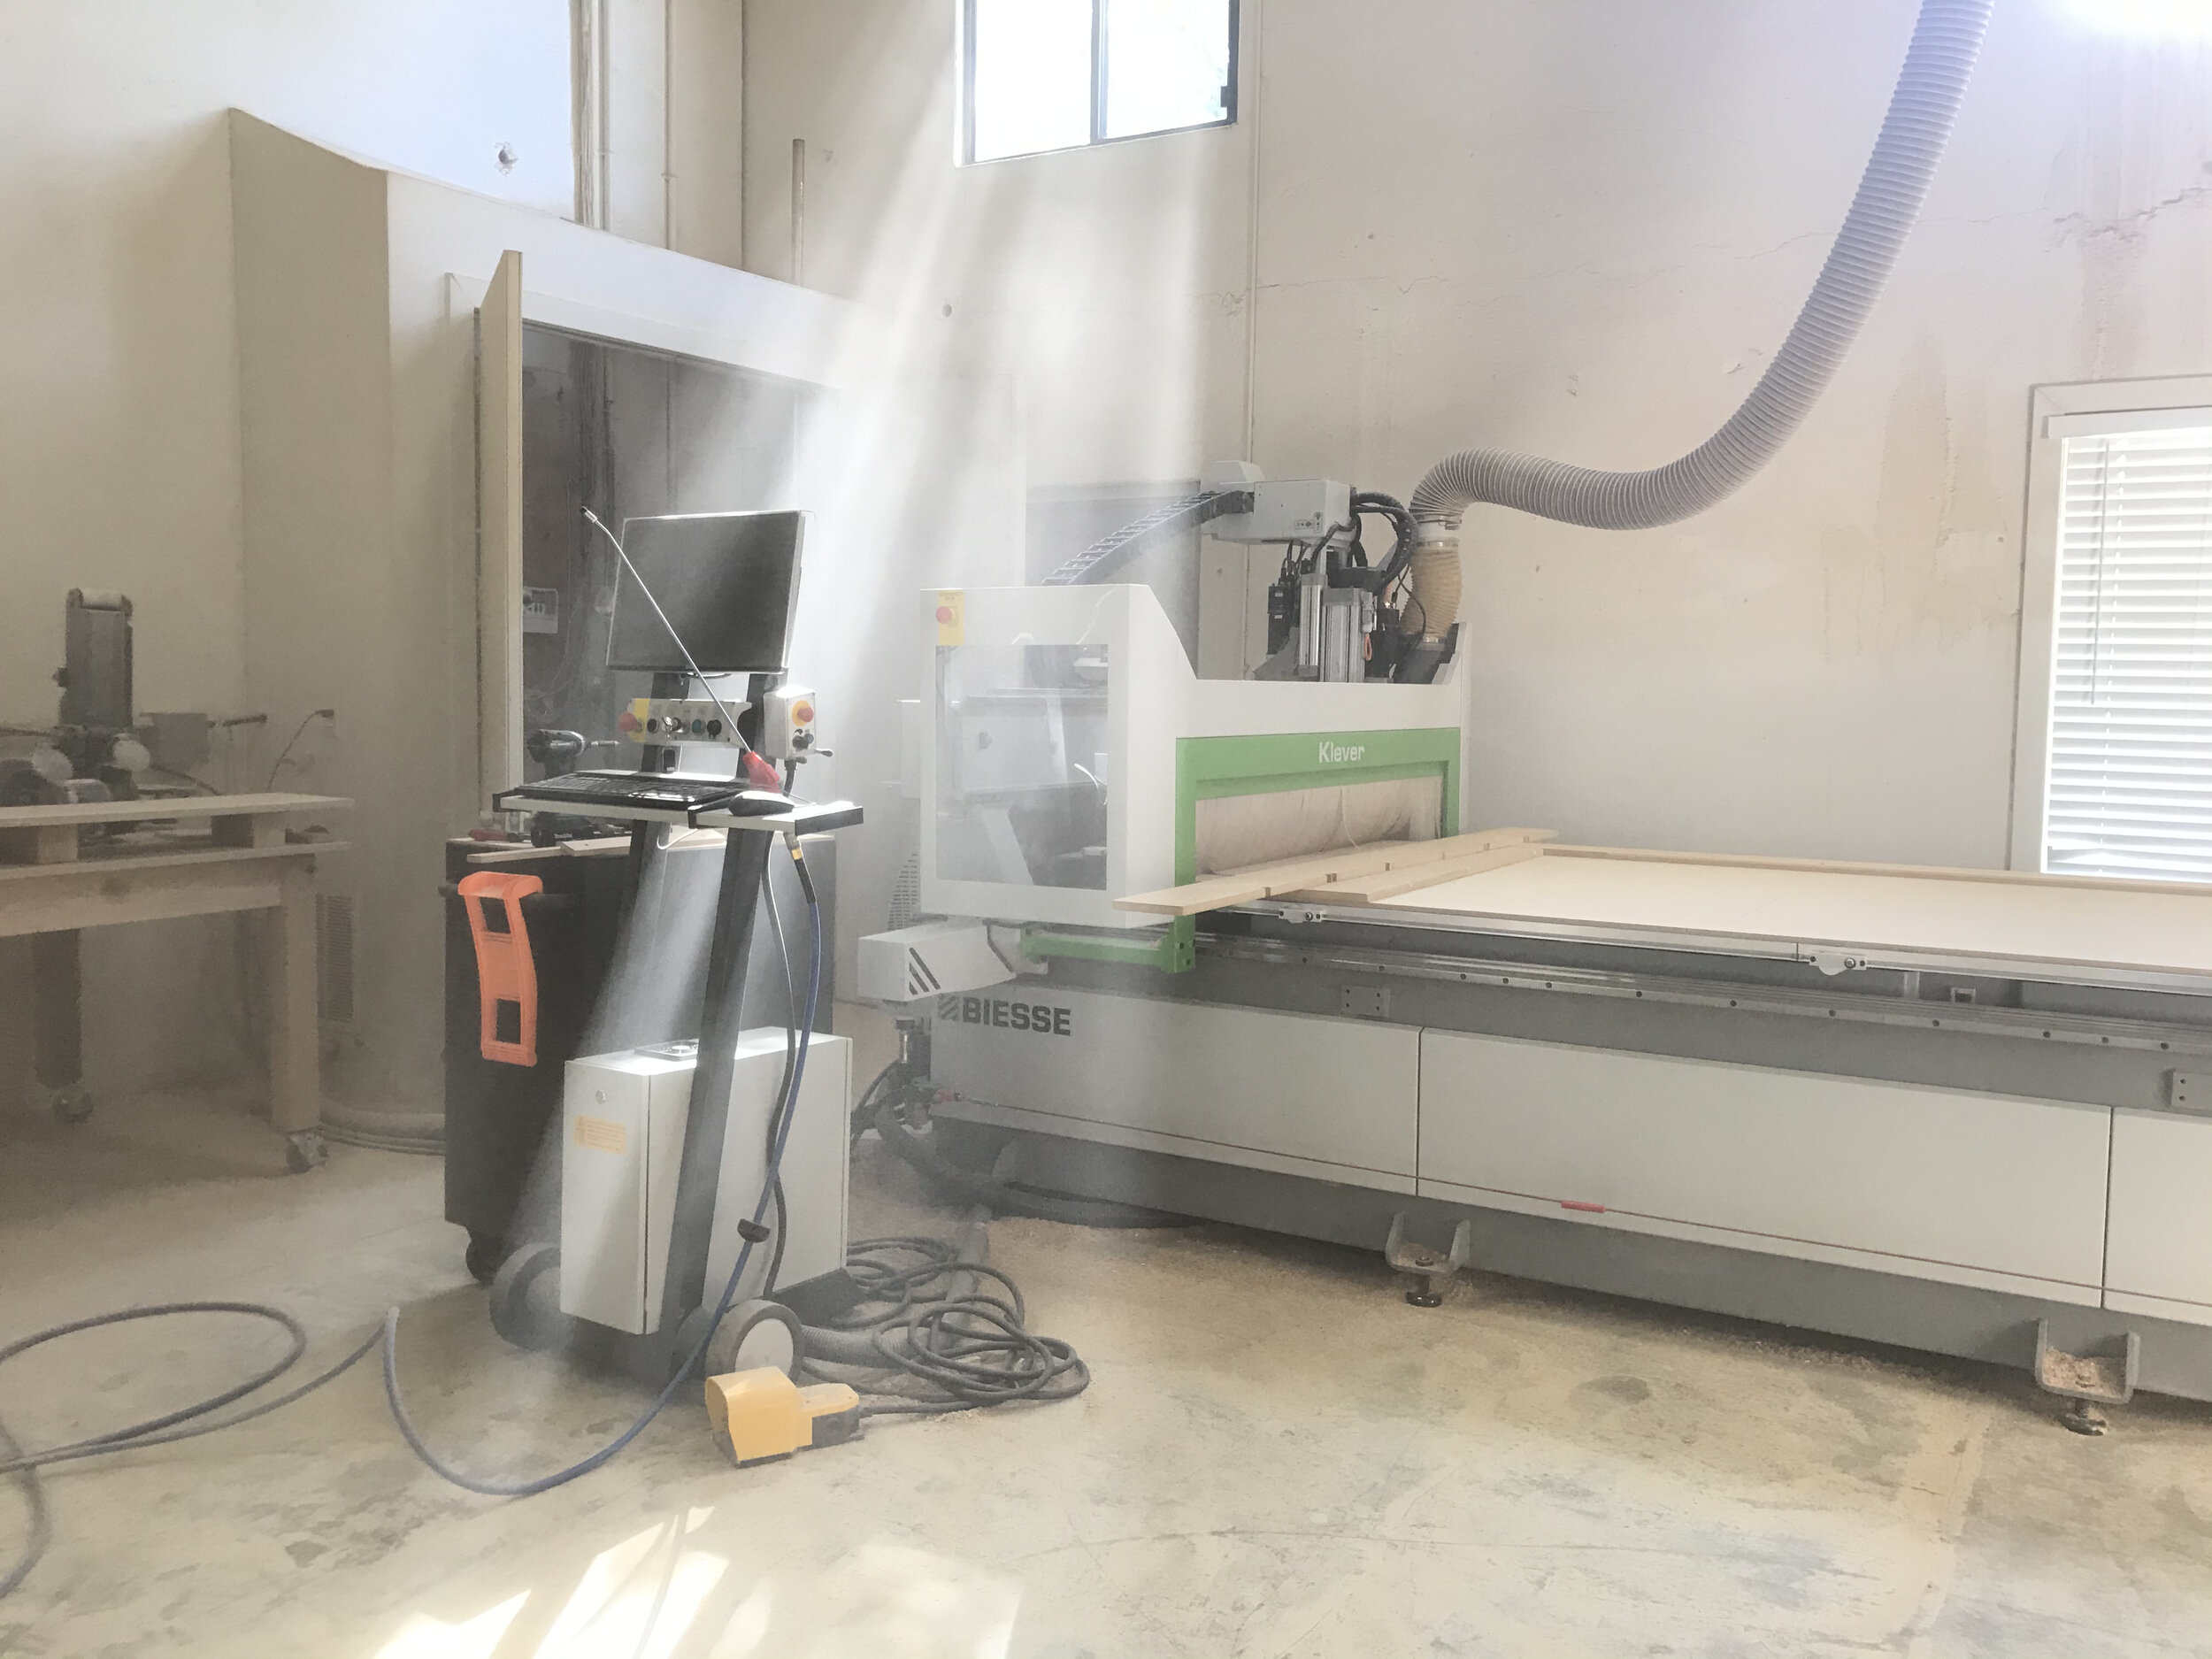
As you can see above, we got things figured out. I deep-dove into the materials we were sourcing (mainly birch plywood) to find good machine speeds and toolpathing strategies. I engineered the wall panels out of a single piece of plywood, replacing the multiple profiles that were being cut and assembled beforehand.
The key there was finding and optimizing T-shaped undercut bits to notch out the pockets once a space had been hogged out in the material. Using the undercut bits to surface the internal flat surfaces on the same pass saved on production time and eliminated the need to fine-tune the bit depths of each run of panels.
I also built in lines of pre-drilled and countersunk holes so the user doesn’t have to drill anything when installing the panels. They get covered by the modules once everything is in place.


Once we had viable, producible panels, I worked on coming up with a line of modules. They are all built on a consistent geometry that accommodates the tools used to cut them out on the router bed. It’s hard to appreciate tool-driven geometry unless you’ve spent a good deal of time toolpathing things.
I added a small notch to pieces butting into an inside corner, eliminating the labor-intensive (and often product marring) process of squaring off the inside corners. A little wood filler in the notch blends in perfectly with the plywood banding.


Above: filing shelves, a desk, a reversible bookshelf, a phone charger/outlet, and a reversible shelf/bin.
Below: the modules can be rearranged by the user based on how they want to use the workstation. Other modules include a hook, pen cup, and dry erase board.


The whole project came together nicely. The company I worked for on this is a great group of people. They make everything in house in their shop in Utah. They have a good eye and do good work. These images are from a photoshoot when prepping the whole thing for launch.
Go check out the full line: dashmodern.com


